This guide will take you through the steps to get Mi-Plan running in a virtual machine on a Mac.
The steps we are going to follow are:
- Install VirtualBox on your Mac. Note that this software is Open Source and free.
- Purchase or use an existing copy and install Windows 7, 8, 8.1 or 10 inside of VirtualBox. I suggest you install the 64bit version assuming you have a Mac with a 64bit OS. Look here if you are unsure.
- Install the Mi-Plan software.
Please download/purchase the following software:
- Download VirtualBox from here. Select the ‘OS X hosts’ version.
- Purchase or use your existing copy of Microsoft Windows 7, 8, 8.1 or 10. I recommend Windows 10 64bit assuming you have a Mac with a 64bit OS.
- Download the Mi-Plan application. Please login and download from here.
Please do the following:
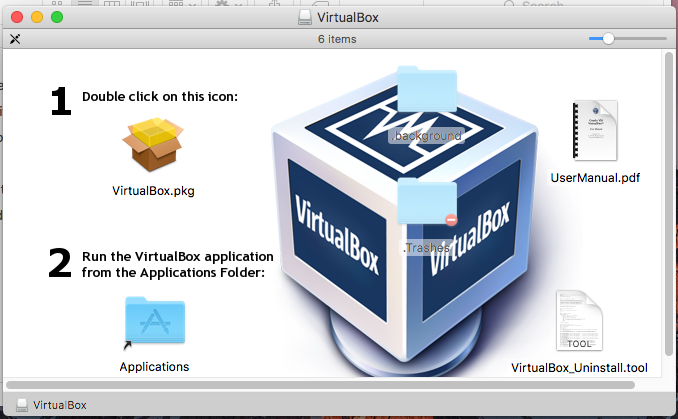
1. Run the VirtualBox installer.

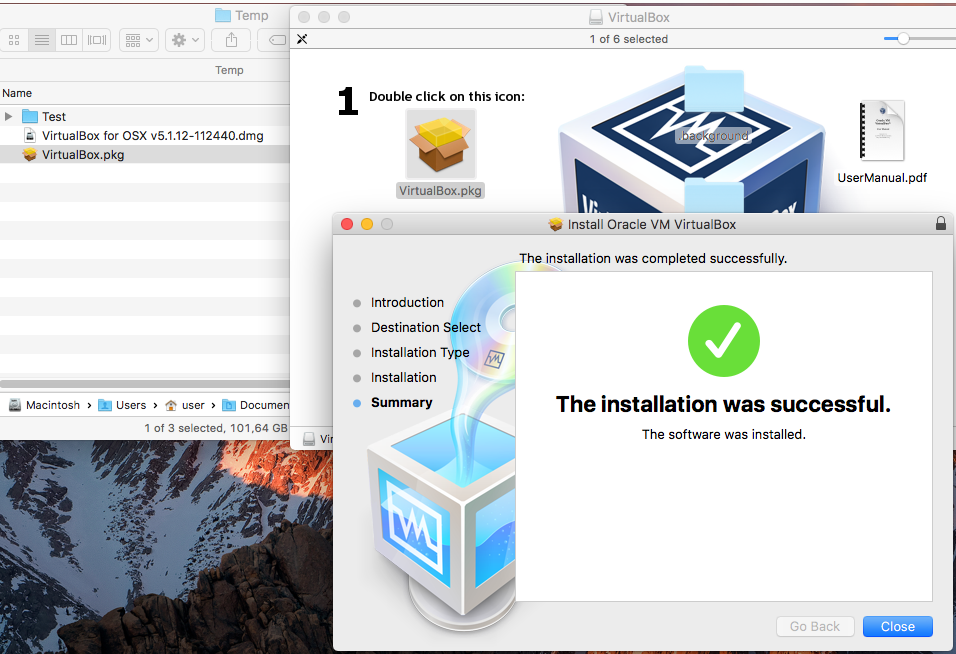
2. Follow the prompts and install VirtualBox. If you get a “Cannot install to this location” error then drag the VirtualBox.pkg in the above screen shot to a folder of your choosing and run the VirtualBox.pkg installer directly.
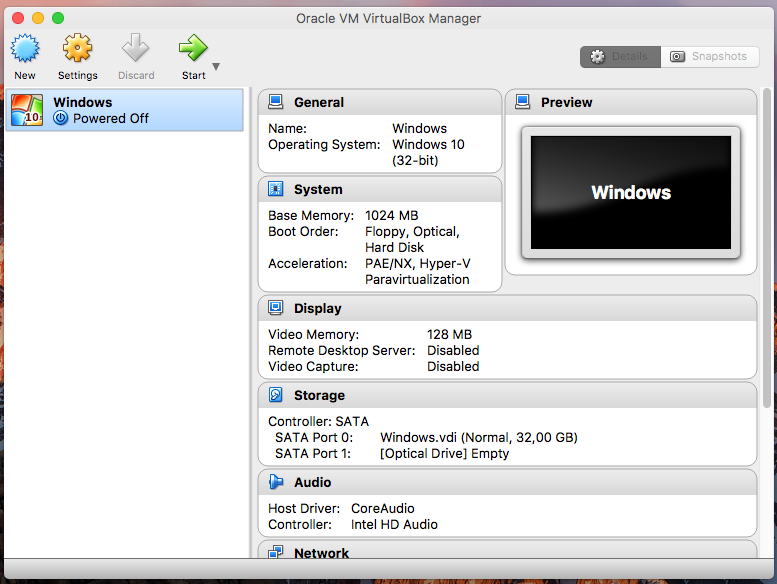
3. Run VirtualBox and click ‘New’. Enter the settings matching the version of Windows that you are installing.
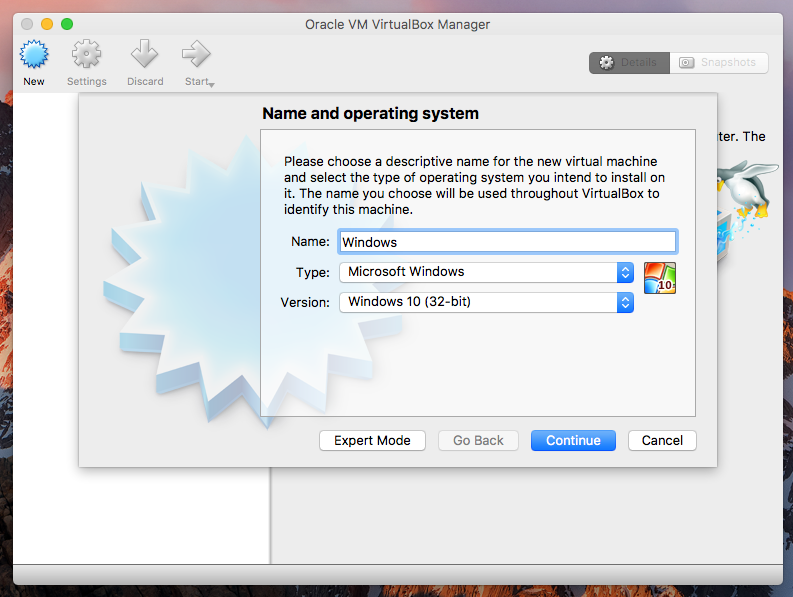
4. Follow the prompts and use the default values. You will end up with this:
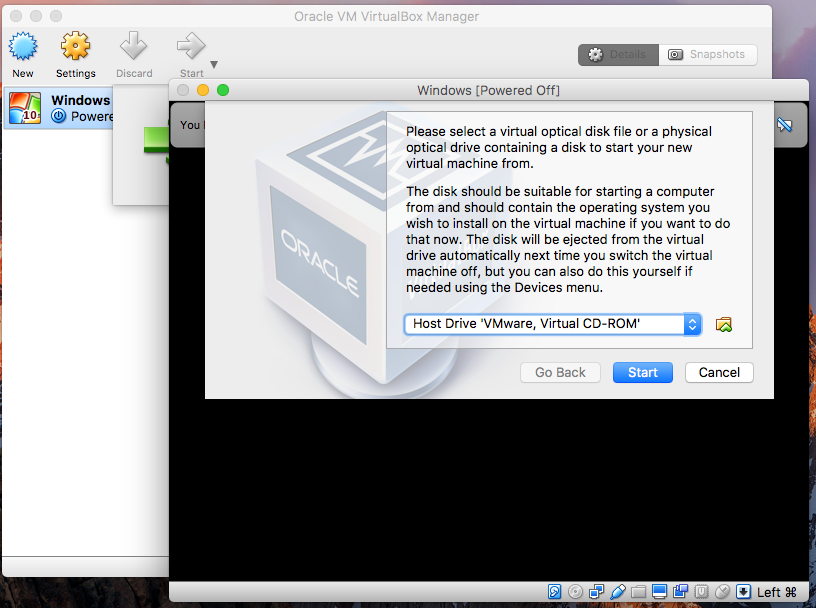
5. Insert your Windows install disk into your DVD drive and start the Windows virtual machine.
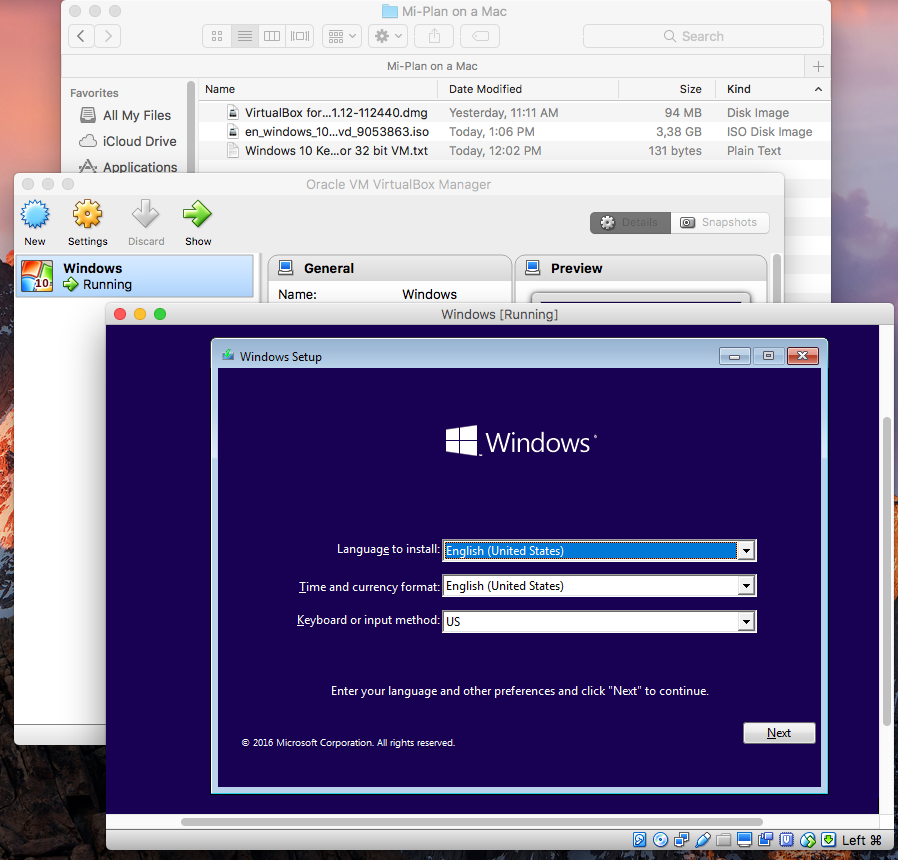
6. On my system VirtualBox would not see my install disk in my DVD drive. I created an ISO from the physical disk and used that to install. Once the install is in progress you will see this:
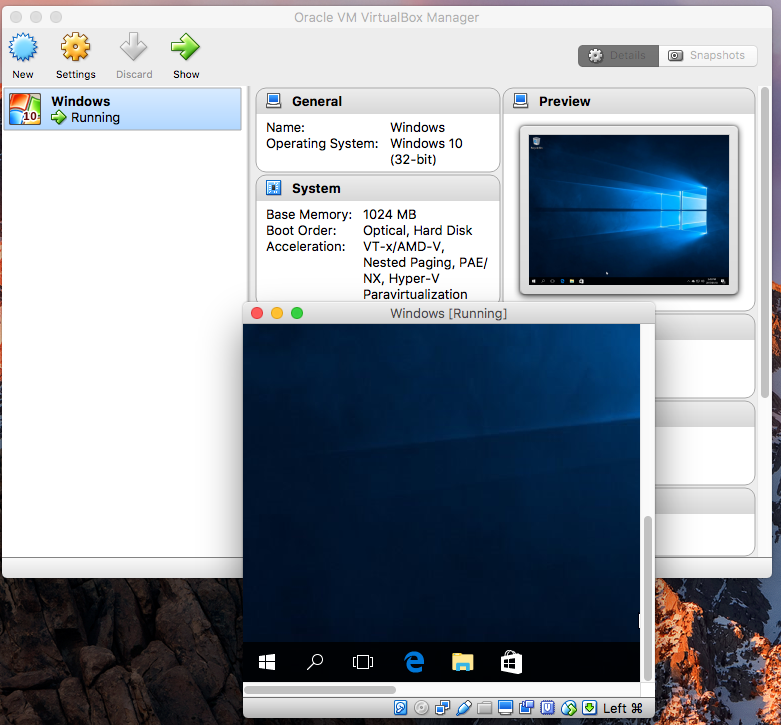
7. Install Windows as you normally would on a real PC. Once complete you will see this:
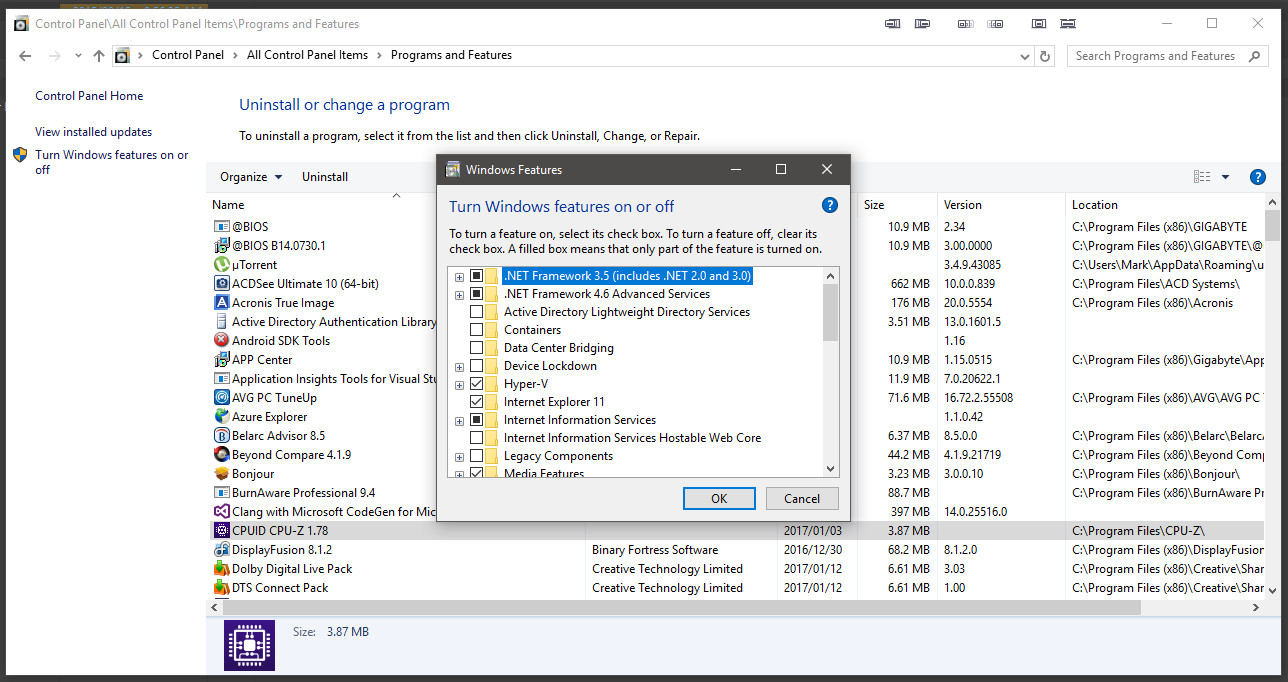
8. Now follow the instructions to install the Mi-Plan software here. Note: if you need to install the .Net framework 2 or 3 then open Control Panel – Programs and Features and select ‘Turn Windows features On or Off’. Select ‘.Net Framework 3.5 (includes .Net 2.0 and 3.0)’.
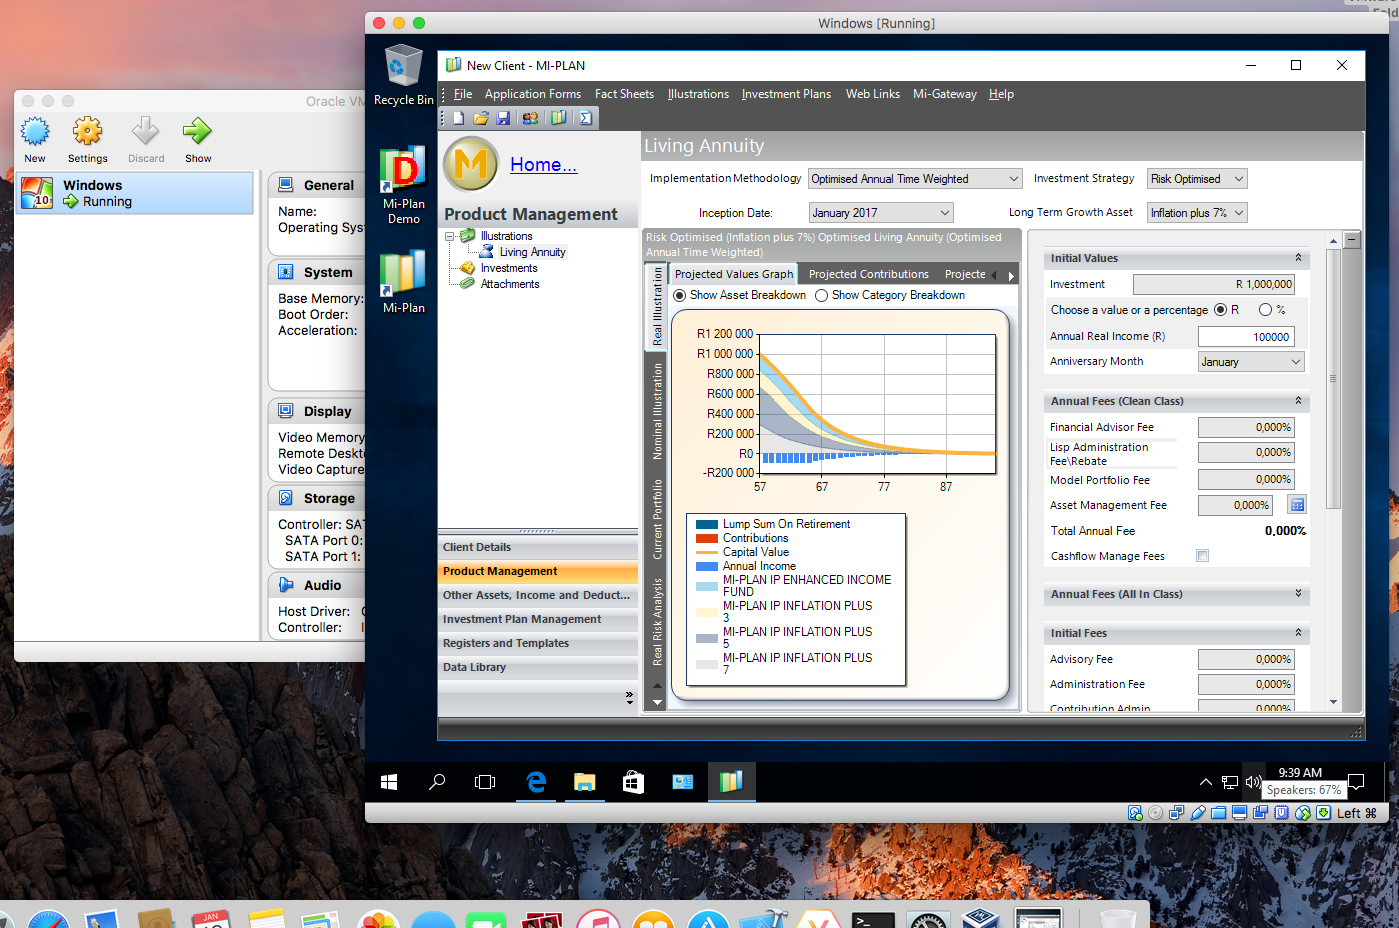
9. Once complete you will have the following: